Saturday, October 1, 2011


 The Opening Window


The "Before" Image
Before


 After
After
(AutoFX Software)
Part I: Mystical Lighting
Part I: Mystical Lighting
Digital imaging software has advanced so much, that you cannot tell anymore (providing the person is well-versed with a particular software) what is "real" and what is "digitized". If you visit http://www.planetside.co.uk/, the maker of Terragen Classic and Terragen, you won't be able to tell that the generated landscapes are digitized. The same holds true for Maya or 3DMax when it comes to creating "digitized" items that look more real than the real item! http://usa.autodesk.com/3ds-max/ is 3DMax's e-mail address.
Mystical Lighting from AutoFX Software is a digital lighting software that creates enhanced lighting on objects (products) or landscapes, or even portraits. It does so with all kinds of menus, and saved "examples" of pre-sets that can be used on whatever file you happen to have open.

Their Beautiful Art Deco Logo

The download is huge!
It has to be to have all of those pre-sets and manual "slider controls".
Also, I downloaded a trio of software.
 The Opening Window
You need to press on the "Open a Photo" button to have a photo appear to be worked on.

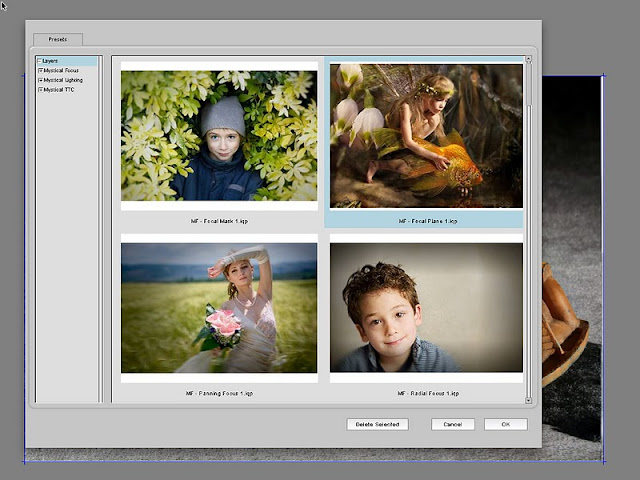
Here is 1 of several windows that offer you a "pre-set" of an effect.
This saves time so that you don't have to work from the beginning.

I think I chose "Light in the Dark"

You can also access the lighting effects from the "select effect" on the left side of the working window.
1. Select effect
2. Select "Mystical Lighting and Ambience"
3. Select "Light in the Dark"

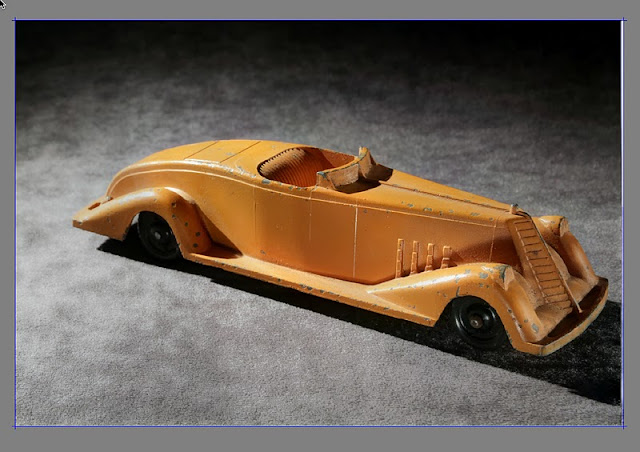
My Starting Image
A Metal Masters Die Cast Toy - circa 1930's

A pre-set of slider data appears once the lighting effect choice has been selected.
As well 1 "T"-shaped control appears on the working image window.
(I did not use this effect), but I wanted to show you the "T" control.
The "T" function has 3 controls:
1. Shorten the length
2. Narrow the top part
3. Rotate and reposition the "T"
All 3 of those controls will create a different effect on the car.

All of the effects are created in new layers or masks.
A mask, for those who don't know is a layer that "blocks" parts of the image from being shown.
It masks an area not wanting to be shown. The term "mask" is from when highly-skilled printers would work with slides and create composite page layouts for printing.
* This program needs lots of memory, and takes its' time when you ask it to do an action.
The same holds true when you "undo" an action. It takes some time to figure out how to work with the letter "T" lighting effect, but once you figure it out, you'll have lots of enjoyment!
A Lighting Control Menu on the Left Side of the Working Window
Moving the "Darken" slides to the left lighten, while to the right darken the effect.

More Menu Controls
The "After" Effect

A moving line informs you of the progress of the command that you just did.
It's in the upper right corner of the working window.

The Upper Left Menus.
1."File" is for save or open, load a mask, or exit.
2. Edit is for "Undo" or Redo"
3. I forgot, but I'll tell you at a later time.
The "submenus" of the File Command
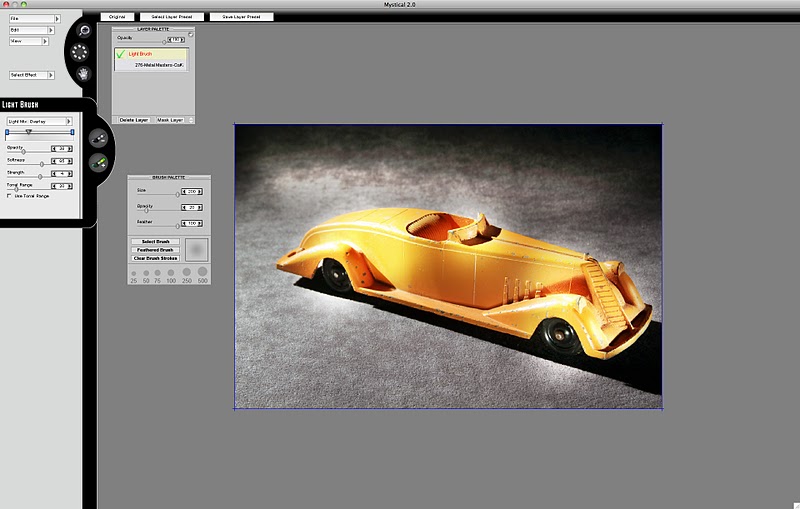
The Light Brush" Overlay Effect
This "effect" allows you to place a circle over a part of the car.
When you double-click the mouse (Mac), the specific area is brightened (lightened) up.

The Result Magnified
I think I used the Light Brush Effect 5 times.
The "Before" Image
You can now see why this program might be a bit slow.
It comes (in this case) with 3 different "effects".
1. Mystical Focus
2. Mystical Lighting and Ambiance
3. Mystical Tint Tone and Colour
This is the "Demo Version", which came with the above 3 sub-menu effects. You can, I believe purchase the set, but install the 3 separately. This would then put less demand on your computer.
My computer is an IMac that's a few years old and has:
1. 3.06 GHz Dual Core
2. 4 GB Memory
3. 1 TB Hard Drive
Yet, it was slow! As I said before, if you can use only 1 of the programs or menus at once, rather than having all 3 run simultaneously, your computer will run much faster.
It's a great program if you like effects. Photoshop will do all of the same things as this AutoFX Mystical Lighting Software, but you'll need to learn Photoshop thoroughly. The benefit of this program, a non Photoshop Script, or PlugIn is that some other software company has created a program or set of sub-menus.
How much you need this software is up to you to decide. It's a great program. Also, you have to take a look at lighting styles. When I was teaching 10 years ago, lighting was more dramatic. When the digital camera came into its' own, lighting became flatter and less 3D. Currently, there is some change to more dramatic lighting. However, you need to look at the latest food magazine or product magazine to get a "feel" for what is out there in terms of photography.
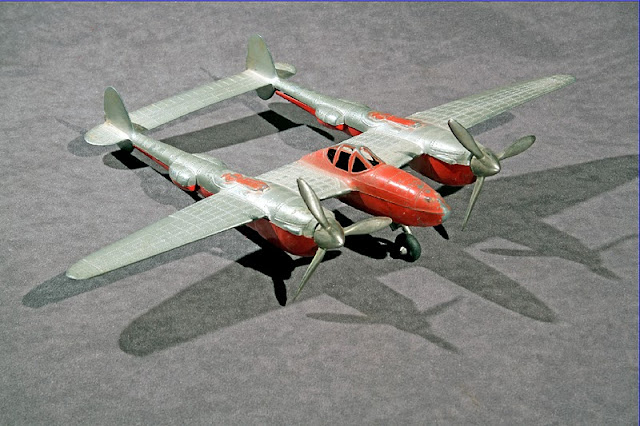
A Few More Results
A Few More Results

Before

After

Before

After (Rainy Light)

Before
 After
After I couldn't figure out how to increase contrast in AutoFX, so I used Photoshop.
However, you can see see the lighting effects form this program.
No comments:
Post a Comment