Friday, June 29, 2012

Still Another Improved Photoshop - Version CS6

Saturday, June 30, 2012


Still Another Improved Photoshop
Version CS6

     Well, it had to happen sooner or later - another new and improved version of Photoshop. This time it's CS6. To be honest, I don;t use 80% of Photoshop for what I do. However, Adobe, and every other software manufacturer, seem to feel that software has to updated or  changed to a newer and "better" version every year., and Photoshop is no different.

     I did a cursory search for CS6 reviews, and it's the "same, same" everywhere. Writers will take what the software manufacturer provides as a press release, and then just rephrase or rehash the same material. Rarely, do you see someone actually taking the software and going over it 
"with a fine-tooth" comb!

     I will return in the future to look at CS6 in more detail, but for now, 
I just spent about 20 minutes looking for new enhancements.

   The Opening Window of CS6

The window is the same as for CS5. It's gone grey, although I prefer the brighter version of white.

   Lens Correction

This feature is the same as in version CS5, but it's a good start for people working in specific areas of photography such as catalogue, product, or architecture. These areas require tighter constraints on the final image, so avoiding distortion is more critical.


   There are a few new additions to the menu as you can see here from this pull-down menu

   A Correction or Distortion Menu

This menu was here before in CS5, but I thought that I'd show it to you.
It can be interesting to work with, although you still have the "sam old" other menus from much-older versions to work with. 

(Select all>>edit>>Distort)

   I thought that I'd check on "dust and scratches" reduction.
This is a problem that I always have, because I always forget to dust off my subject or foundation.When this happens, I then use the rubber stamp to remove the dust.

I haven't found that  the filter>>Noise>>Dust and Ccratches works well in CS5


The Before Image

The After Image using the Dust and Scratches Filter.
It still doesn't work well!

This is a new feature called 3D
I have no idea how it works, but I'll try and learn what it does and edit this post in the future.
This feature could be interesting.

This is a new feature that can appear on the working screen.
It allows you to access the type menu and change features more easily.

Thanks for dropping by,
and as usual, have a restful weekend, 
wherever yoo may be reading this.


Thursday, June 28, 2012

Lighting a Toy that has its Own Lights


Friday, June 29, 2012

How to Light a Toy that has its Own Lights

     I've been writing about  a very nice toy for the last 2 days. It's a pressed steel Girard Pierce-Arrow toy from the 1930's-early 1940's. It comes with small lightbulbs and is wired for lights. It is powered by 2 size D batteries.

     The problem here is that the light bulbs don't produce enough light to light the car. If you take a photo, all you'll get are the lights. If you overexpose to get the car, the light bulbs will overexpose and you won't see them.  If you don't have photo lights like myself, then using a  table lamp would be alright. However the table lamp light will overpower the light from the toy car , and you won't see them.

   So what do you do? You set your camera to B or Bulb, and photograph in Manual mode. You'll keep both the table lamp on, and the car lights,, but turn off the table lamp early. This will then allow a longer exposure necessary for the small car lights.

   In my case, I've used my small studio spot lights. I 'll show you the procedure, and the same instructions can be applied to a table lamp. Please use caution when doing this, and make sure to have a small flashlight to see what you're doing in the dark!

I like to work with the camera in manual mode and with small f-stops (lens openings).
It's easier when doing a multiple exposure such as this.

The above composite photo shows different exposures all set at f 16.
Of course, you'll need a tripod.


 The rear lightbulb is less bright and is red.
The exposures were much longer.

The front lights only require an exposure of 40 seconds.
What I did was place a piece of black cloth over the front lights, and let the rear red light exposure for the remaining 80 more seconds for a total of 120 seconds altogether.

The above cloth is not the best. The best is a piece of black velvet.
Black velvet is like a dark hole in space. It absorbs light unbelievably, and is much better than the material that is shown above. You can get a small piece usually from a retail fabric store.

A series of exposures to determine the overall light from your table lamp or my studio lights.
You need to balance the exposure form the table lamp or studio lights with that emitted from the car lights. It's better to underexpose that to overexpose, otherwise you'll overpower the car lights.

Another series of exposures.
The middle image shows the combined lighting of the table lamp (my studio lights) and the car lights.

I decided to use a technique called light painting instead of the studio lighting and car light technique.You use a small flashlight with a fiber-optic attachment, and actually move the light around as if you were painting.

 This is the result with the technique.
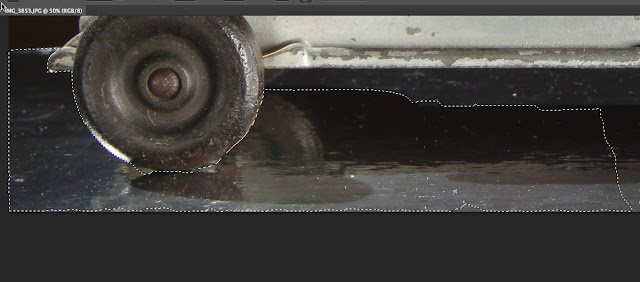
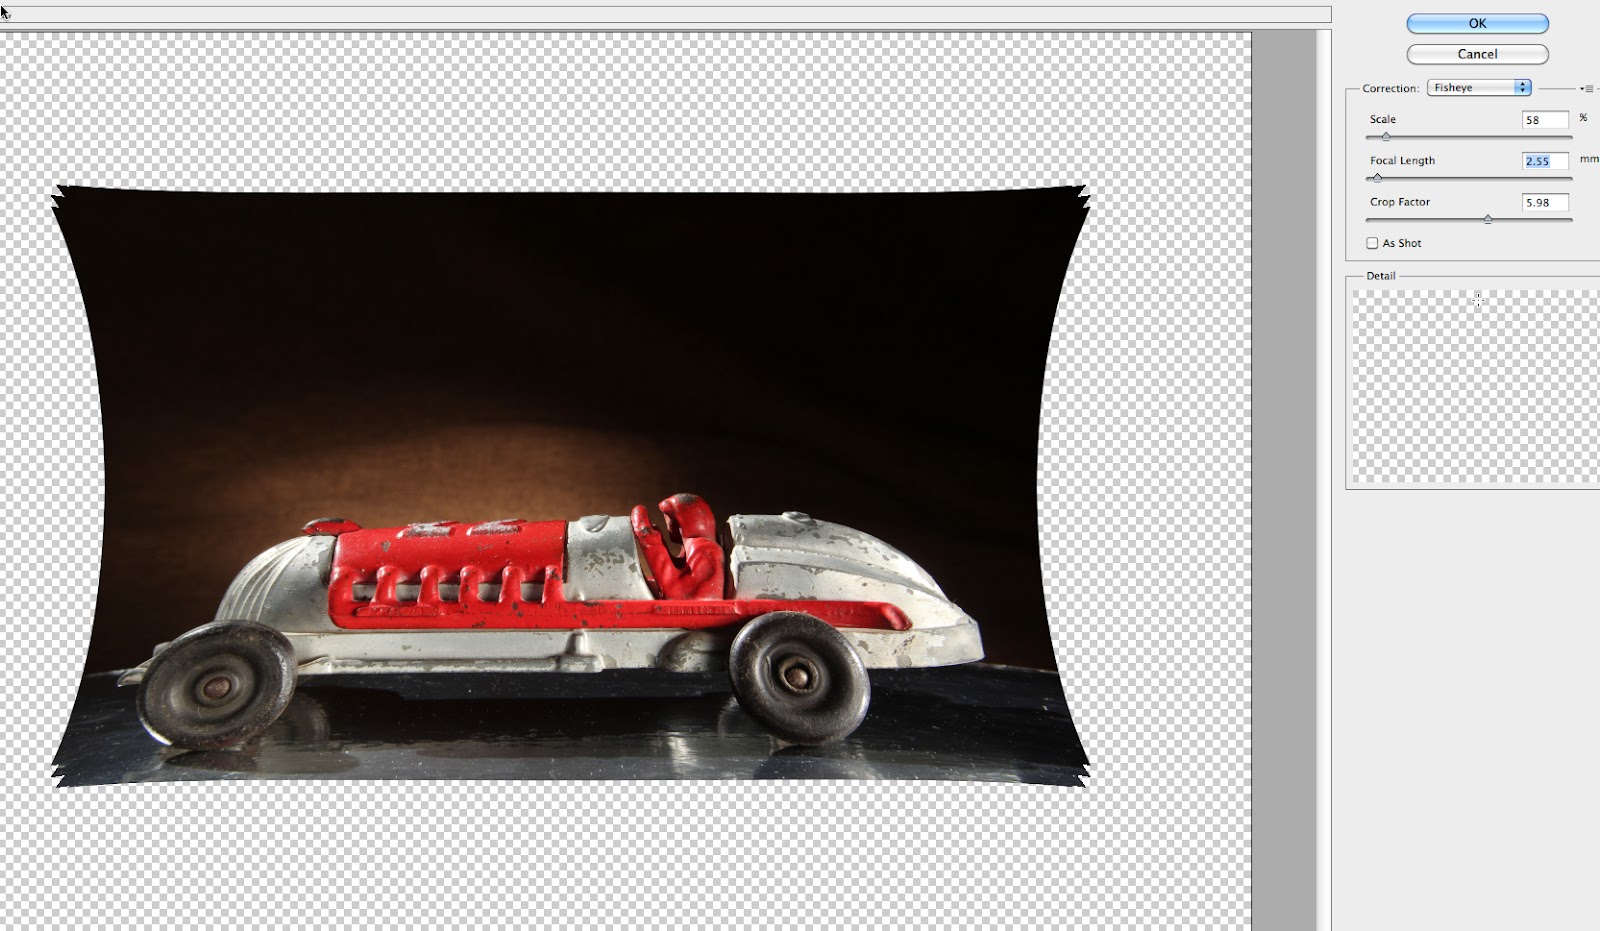
I "sloppily" removed the white background and placed the car on black.
This presents the combined lighting better, since the white background would detract from the actual lighting.


I wasn't happy with the above results, so I returned to do a reshoot. A reshoot for those who don't know, is simply redoing what you first did. This is done either because you , as a photographer is not happy with the results, or the client that you might be working for is not happy.

When I had installed the size D batteries, I later learned that I did not install them properly. I had installed both batteries parallel with each other.In other words, both batteries had their positive end up, and their negative ends down. Since there were no + or - signs on the battery case, I ended up doing the wrong thing. I realized this when I though that my rear lightbulb was not working right. I returned to my toy later, because I was going to remove the lightbulb and look for a replacement at the local Hone Depot or Reno-Depot store.  The toy was hot, and when I removed the batteries, 1 of them was burning hot! Obviously I had created a loop in the current and it built up resistance or heat!

My advise for anyone working with batteires in an old toy is to ask an electrician how the batteries should be installed, so that you don't hurt yourself, cause the battery to explode,, or perhaps create a fire!

When I did the reshoot, I rearranged the batteries so that 1 had its positive (+) terminal at the top, while the other battery had its negative (-) terminal at the top.

I'n still unsure if that was correct, and when I was finished I removed the batteries for safety reasons.

What I did discover however, was that I could have 2 power settings for the lights. One was bright, and the other was dim. I was then able to finally get better exposures to improve upon the previous images.

I also changed the foundation or material to a darker colour, which made paintin g with light easier to do.

Test # 1

Errors:

1. The car moved when I changed the power setting (see below for explanation).
Notice the white area (highlight) just in front of the rear red lightbulb.

2. I used a small flashlight to better expose the black tires. I "spilled" light or added light to the burlap brown material, which made the exposure look "weird".

Test # 2

Solutions to the errors from Test # 1

1. I taped the car in the back side, so that it would not move.

2. I ensured that I placed additional light on the tires very carefully, so that there was no spill.


Think of how hard it was before the digital era, for professional photographers to photograph real cars with their lights on! The photographer would have to photograph the car with many exposures as I did, and he/she would be using an 8" x 10" (200mm x 254mm) piece of film with the large-format view camera. There would be supplementary lights to light the car, as well as exposures for the inside instrument panel, the exposure for the outdoors, and then of course the black tires. Of course, the photographer would have to use a Polaroid back in order to see the initial images and their respective exposures. Once the correct exposure was obtained with Polaroid film real slide (transparency) film would be used.

Naturally, there were perhaps, at the most 50-100 photographers around the world who specialized in photographing cars. The work was very hard, but they made excellent salaries for the photography.

Nowadays, I could easily have photographed the car with 4 separate exposures, and then used Photoshop and layers.  By using  Photoshop and layers, one simply places all 4 images above 1 another in a new image. You then can erase  unwanted parts from each image to expose the tires, the front lightbulbs, the rear lightbulb, and the overall exposure. 

This can be done better, and faster than my "old-fashioned" method!

The Exposures:

All exposures were taken at f16 with the camera in the "B" or bulb position

1.  f 16 @ 15" 
(Front headlights set to low power position).

2.  f 16 @ 30"
 ( Cover the front headlights with black material and set the power to  high power position).

3. F 16 @ 3" 
(Remove the black material form the front headlights).
In total darkness paint each light with the flashlight for 3" each

4. F 16 @ 10"
Turn on 1 spotlight aimed at the white ceiling tiles and expose.

*Since the camera is set to the B position (bulb), the exposure is being counted on the back screen.
The camera is exposing all the time.

The camera  shutter reamins open until you press the shutter to close the shutter.

Total exposure was f 16 @ 15" + 30" + 6" + 10" = 

f16 @ 61 seconds.


So thanks for dropping by, 
and have a great weekend, wherever you may be.


Sunday, June 3, 2012

Checking the Colour Temperature of Your Photo Lightss

Monday, June 4, 2012


Checking the Colour Temperature 
of your Photo Lights

     I'm sure most of you either use natural light or flash for your photos of toys. I use studio lights because I purchased them to do interior architecture, but that has not panned out (worked out) so far. I like to work with LTM 100 watt spotlights. These lights are spots and have a screw mechanism to focus or broaden the light spread. You can purchase 4-way barn doors to control the light as well. The light source is 3200 degrees Kelvin or what type "L" film used to be balanced for. The "L" represented long exposures of 1" and longer.
  This is a quartz lightbulb that is used in the LTM spots.
It's important never to touch the glass with your hands as the grease form your hands will go into tiny pores (holes) in the glass and can cause the bulb to explode.

The light from these small bulbs is very bright and intense.
They cost about $ 8.50 - $ 12.00 per bulb.


  I normally use 2 lights for most of my photograph.
I know 1 of them produces a different colour of light from the other, but I don't bother to correct them. I would do that by replacing one of the bulbs- the one that is producing that reddish and warmer shadow to the right of this toy Arcade car.

  If you look at the shadow on the left, you can see that the shadow is "neutral in colour", whereas the shadow to the right of the car is "reddish".
What this means is that the "reddish" quartz bulb is getting older. As such , it no longer produces or emits the brightness that it originally come with. AS such, the colour temperature is being lowered to produce a warmer "reddish" colour.  I could place a CC (colour-correction) filter over the light with a slight-blue colour to counteract the reddish colour. However, the cost of a sheet of 18" x 24" ((48cm x 61 cm) is close to $ 16.00 U.S.

A new bulb is less expensive.
SO what I'll do is replace the older bulb with a newer one, and perhaps keep the old one and wait for another one to age and warm up. Then I can colour-balance the light source from the 2 lights with my camera.

  There are other ways to test the colour-balance of a lightbulb, but my "accidental" discovery of looking at the shadows certainly is a good way to test your light sources.

Thanks for visiting,
and as always have a great morning, afternoon, or evening,
wherever you may be reading this post.


Saturday, June 2, 2012

Sunday, June 3, 2012


Cleaning up a Photo Photographed on White

     The photo below is the same one that was the last image in yesterday's blog. It's a Kilgore cast iron sedan from the 1930's.  I didn't "clean it up", so it has several grey areas. These areas are underexposed white material, and as such expose less that 100% white. 

     The best advise to give anyone when doing doing studio table top photography or any other photography in a studio is to get it done properly in the studio! 

Photography is a paid profession. As such, time is most important. So if you can photography 95% of your work in the studio and finish there, then you will be more productive. If you have to go to the computer to clean things up (like today) that will cost you money.  You can;t charge a client for  as that is what the "norm" is today. The client expects complete and finished work. AS such, you can charge more for excellent work, and that is mostly done in the studio.basic retouching. SPotting dust particles or painting some scratches can be used in Photoshop.


    The question then is how to make a clean white background in the studio? The grey areas above are the result of uneven exposure. What I would do is to move my lights farther back to spread out the light more evenly.  You could point your camera at different parts of the frame and see if the exposures are all the same. A second choice is to use more lights. However that can be more costly if you dont' have more lights, and more of a problem if you work in a confined area like me.

  Start in Photoshop with Image >> Adjust >> Brightness/Contrast

The brighter areas will whiten up more than the darker areas will overexpose or "wash out".

This is how the photo appears at the  0-0 position for brightness/contrast
This is the photo with a +15 increase in brightness

The next step is to erase the remaining  grey shades.

I  selected a medium-sized eraser, and a 57% hardness.


Imagine that the image above is the eraser with 57% hardness.
The outer and lighter area of the eraser illustrates the "softness".
What this means is that you can actually get close to the car parts and the eraser will not "erase" those parts.


You can also adjust the opacity which will allow you to get close, and not erase as much from the image, especially at the borders of white and car. In time and with moire experiences, you can change the opacity to 100%. This means that as you erase, you erase 100%.

Notice how close I came with the eraser,.
However, because the edge of the eraser is 57% hardness, the edge will not erase as much,if anything.

For finer detail and edges, simply magnify (enlarge) the image that you are working on.

You may have trouble seeing the edges and what you didn't erase.
What you can do,is simply to make the image dimmer or less bright.
Notice how the parts that I didn't erase show up better.

Erase just these darker areas.
When you re-adjust the brightness, all of the lighter-toned areas will disappear and appear white.

Here is the "cleaned-up image.
It will be too bright or lack some contrast.
Don't worry.
You can get better contrast with either :
Image>>Adjust>>Auto Contrast

or

Image>>Adjust>>Brightness/Contrast

Image>>Adjust>>Brightness/Contrast

If the detail in the highlights is disappearing, then simply go to
Image>>Adjust>>Highlights/Shadows

Image>>Adjust>>Highlights/Shadows
Notice how the detail in the yellowish tires has now returned.

Original Image

The final and cleaned-up Image

Don;t forget to save the photo by a different name, just in case you ever have to return 
to the original image.

Thanks for visitng, and as always, have a restful Sunday moring, afternoon, or evening wherever you may be.


Photography on a White Foundation

 Saturday, June 2, 2012


Photography on a White Foundation 

     I must apologize to all my dedicated readers of this blog. It's hard to be motivated to write a blog when the readership is low.However, this is definitely a case of "Is the glass half full or half empty?"
Instead of looking at the blog as half-full, I was looking at it half-empty. I was not thinking about those who visited here, but those who didn't.

     So thank you all for visiting, and I'll try to motivate myself to start posting on this blog again.

    As you know, I buy and sell old toys  on E- Bay.  I then photograph the toys and write about them on my other blog oldantiquetoys.blogspot.com. I was browsing on E-Bay when I came across some simple, but excellently done toy listings. I wrote the seller a note to commend him, and he and I communicated. When he'll have time, he'll be making a guest appearance on that blog.

    His technique is to photograph all of his items on white. The toys are then easy to see, clean, and have no distractions such as what they might be resting on or the foundation. My usual method of taking toy photos is to use 2  3200 degree Kelvin spot lights made by LTM.  One creates the mood and direction of the lights and is called a main light, while the weaker one adds light to the shadows and also creates detail. The second one is called a fill light.  When using the fill light, you have to ensure that its shadow is hidden. The reason is that studio lighting is based on the sun, our light source. The sun comes from 1 direction, and casts 1 shadow. That's the reason!


The above  images are how I normally photography my toys.

I like this lighting, and I also use a few silver reflectors to add those  bright areas or "highlights" on the surfaces of the toys.

With a white foundation, the shadows will not be as distinct, as the white reflects more. Also, I try and keep the intensity (exposure) of each light almost identical, so that any shadow will be cancelled out by the other.

1 other note: If you use automatic exposure, 
you may find that you're photos are underexposed for the subject.
The reason for this is that even digital cameras are still calibrated to expose for a shade of  tone called 18% grey. That's a tone of grade that when exposed properly will also expose a range of tones from white to black and in-between correctly.

So what's the solution?

Use manual exposure, look at the exposure in your viewfinder, and set the new exposure for anywhere from 1-2 f-stops wider (Larger aperture) or  2 slower shutter speeds.


A Kilgore Cast IRon 1930's car

The 8 images above are examples of how the white foundation or background works with my toys.
I did some "cleaning-up" because as you can see in the above photo, there are some "dirty spots".
Those grey areas are the result of not spreading the light out evenly. As a result those areas are underexposed, and have been exposed to yield a grey shade.

My next post or instalment will show you how to clean up those areas.

So to all of you who have helped support my writing on this blog, thank you, thank you, and thank you.

I hope I will  write lots more to have you contineu to come back to this blog.

As always, my friendly readers,  have a good morning, afternoon, or evening wherever you may be.