Wednesday, December 12, 2012
The Pen Tool - Continued
(Photoshop)
I already started a post about the pen, and so today, I'll continue. For myself, the Pen Tool is a tool to make a selection that's even easier than the Magnetic Lasso. And the magnetic lasso is even much easier than the Quick Selection Tool or the Magic Wand Tool. Of course,when you read a PS book or a Tutorial on the Net every in PS is "Perfect" and every tool works 1000%. I don't find that - period! However, overall PS is great and you learn to work around it's idiosyncrasies and limitations. In 20 more years it'll be even better.
Like all of the tools and menus, there are adjustments and sub-tool (my term) and sub-menus, and the Pen Tool is no different.
Step I
This is the regular procedure when opening any file in Photoshop or any other program.


Here is the completed "selection" when the last square (point) is joined to the first one.
An area that I missed.
The pen tool is not like the magnetic lasso in 1 sense - You can lift the pen tool and then magnify your image.With the magnetic lasso, I find that I'll create a 100 small magnetic squares in order to magnify the image. Obviously, I must be doing something wrong!

Here's the same area corrected.
For some unknown reason, I can't seem to change the selection or the path in order to
"refine edge"

The "Refine Edge" is accessible with the magnetic lasso.
The Refine Edge" menu all set to zero.


Th The Selection or Capture with a "refine edge" applied.
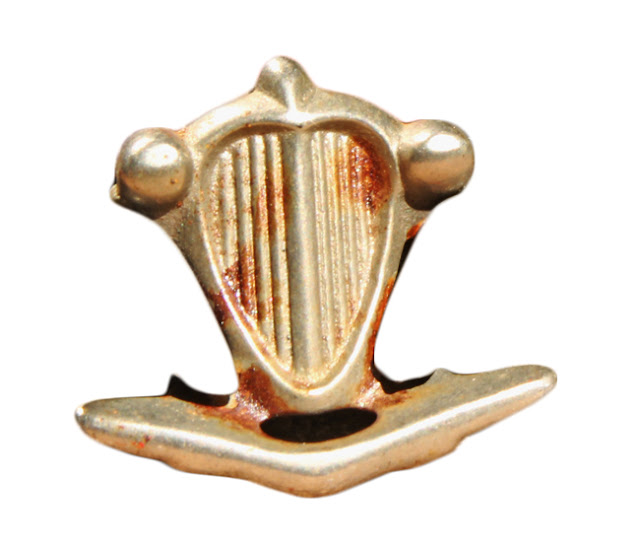
Of course, it's not perfect, but you can see how the captures or selections are getting more refined and easier to do with a different tool.
Thanks for dropping by,
and have a great morning, afternoon, or evening
wherever you may be.
Stacey

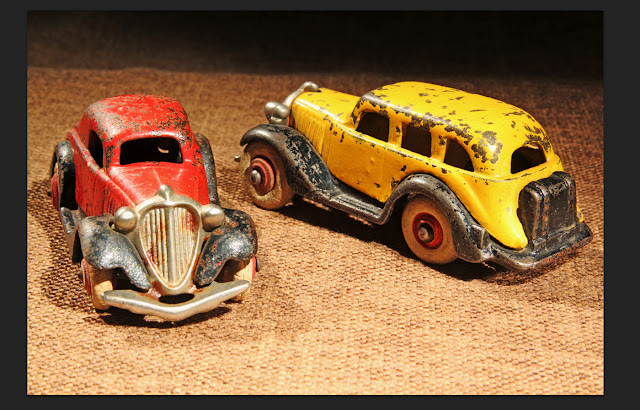
The Same Starting Image as Before

I Placed the Dock on the Left Side
I also have the option to hide it, and have it reappear
when I place the mouse pointer on the side of the window.
Both actions are an Apple OS feature.

The main reason to hide the dock was to be able to magnify the image.
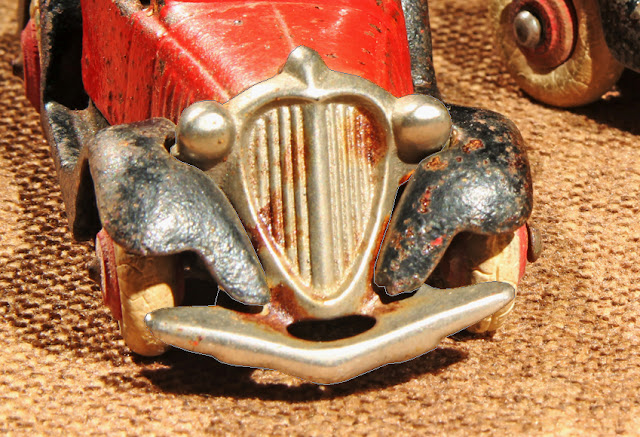
I was working with the nickel-plated front grill, and needed as large a magnification as I could.

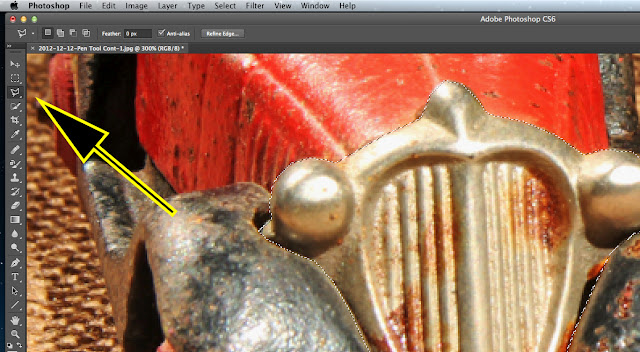
The Pen Tool is found on the left verticle tool bar.

I added a duplicate layer.
This is the standard "rule" so that you always are working with a copy and not the original image.
Step II
In this part, I made the capture using the pen tool, as I did before.
I duplicated the procedure so that you wouldn't have to go back and forth between 2 posts.

Here is an almost-completed "path". I'm calling this a "path", but Photoshop may be calling it something else. When the last small square is jointed to the starting one, then the "path" will change form those small squares to a marching-ant line.

Here is a close-up of a "rough" pen tool outline.
However, you'l be able to refine the edge and smooth it out later on.

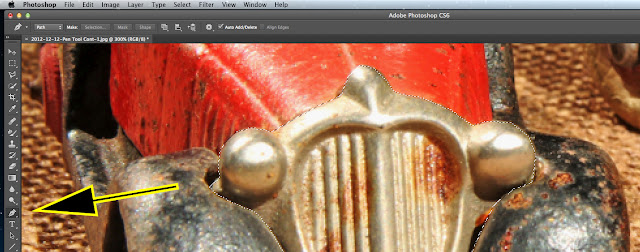
Here is the completed "selection" when the last square (point) is joined to the first one.

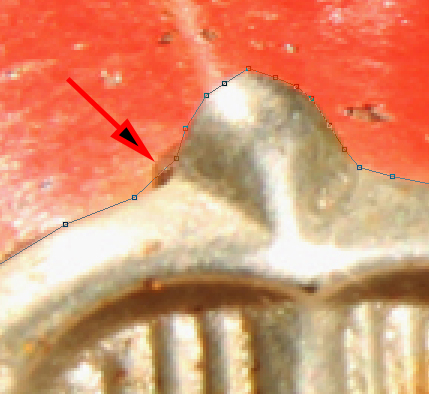
A close-up of part of the comleted selection
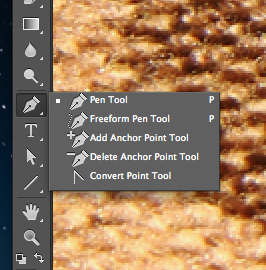
There are 5 "sub-menu tools" attached to the Pen Tool.
Working with these allows you to make changes and improvements to the completed "selection".
You'll be able to change from the "selection"to a path in order to do this.
For now, I'll just show you what I do with the tools, rather than how to use them

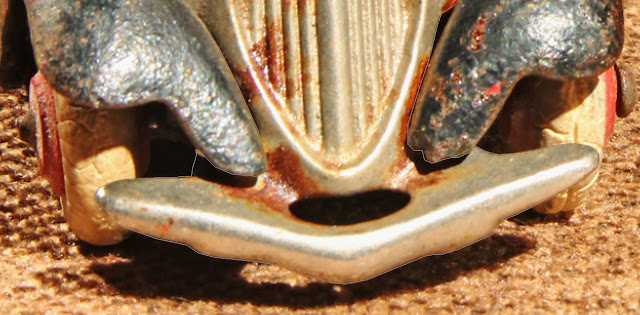
An area that I missed.
The pen tool is not like the magnetic lasso in 1 sense - You can lift the pen tool and then magnify your image.With the magnetic lasso, I find that I'll create a 100 small magnetic squares in order to magnify the image. Obviously, I must be doing something wrong!

Here's the same area corrected.
Step III
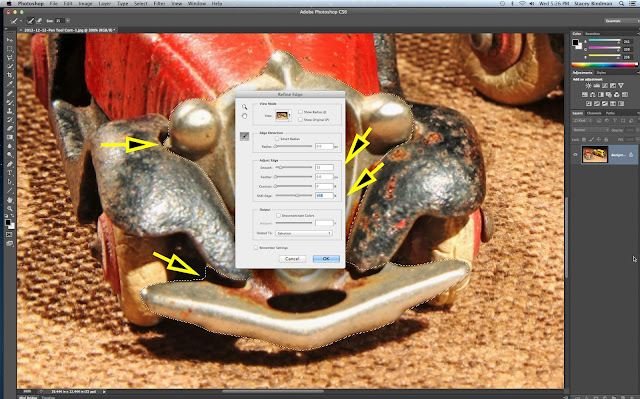
Refine Edge
I can't seem to be able to sue the "refine edge" with the pen tool.
I can't seem to be able to sue the "refine edge" with the pen tool.

For some unknown reason, I can't seem to change the selection or the path in order to
"refine edge"

However, I can change to the magnetic lasso, which does then allow me to "refine the edge".
The same pathway or selection seems to transfer to the new tool.

The "Refine Edge" is accessible with the magnetic lasso.
The "refine Edge" is The "Refine Edge" menu all set to zero.
magnetic lasso.
The Refine Edge" menu all set to zero.

The settings for the improvements

The Selection or Capture without any "refine edge" applied.

Th The Selection or Capture with a "refine edge" applied.
Thanks for dropping by,
and have a great morning, afternoon, or evening
wherever you may be.
Stacey
No comments:
Post a Comment