Monday, December 10, 2012
raining and wet
raining and wet
The Blur-Sharpen-Smudge Tool
(Photoshop)
This tool that's found on the vertical side menu (column) is great for creating a fast, easy and
out-of-focus on parts of your photo. I don't really have a use for "smudge", so I'll et you try that out. As for "sharpen" - this is terrible!
The question is why would anyone want to blur a photograph?
1. One answer is simple. If you only have a 50mm lens, then it's going to be very hard to get that selective-focus or controlled focus over an area of your photo. Even if you use a wide aperture f 2.8), the 50mm (a short focal length) will not create the blur that you would get from a longer focal length lens.
2. Maybe you want to have an even greater out-of-focus effect than the one that you have.
3. If you have distractions in the photo from the main element, then you can blur the distractions. An example might be of a portrait of someone in the front (foreground). However, there are distraction (dog, fire-hydrant, cars) in the back and they take attention away form the portrait.
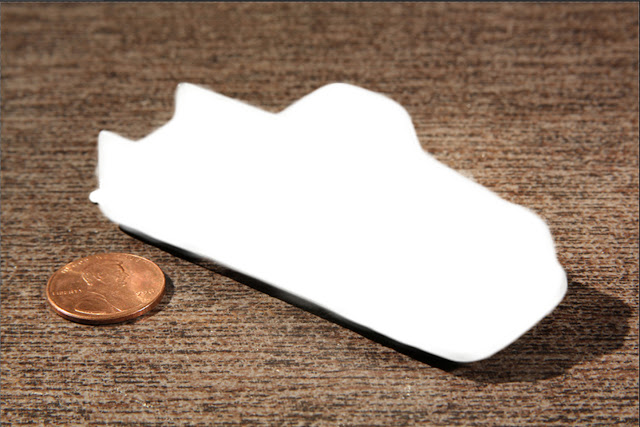
A 1940's Tootsietoy Toy Truck
Make sure that you save that:
1. Save this image as a copy
2. Make a duplicate when you opened this file
If you donlt know how to make a selection in Photoshop, please visit my Photoshop blog below.
I write very simply, with lots of photos, and lots of steps. It's also very easy to follow.
If you donlt know how to make a selection in Photoshop, please visit my Photoshop blog below.
I write very simply, with lots of photos, and lots of steps. It's also very easy to follow.
I temporarily cut ou the truck to see if I did a good selection.
For"purists" I could have also cut out the dark shadows.
I selected the truck, because it was easier to select it, then do a reverse selection as you see above.
From there< I can then blur the background and foreground easily.
There is where you find the tool.
I started at a 50% blur setting.
I find it easier to "build up" or blur in several steps rather than in 1 step.
You can also blur in 1 pass (with a large-sized tool setting) and then take your finger off the mouse.
Each time that you do that, that is 1 stage in the history menu.
That can also be remove or undone easier.
That's the size of the tool in use. Like most of the tools,
you can make the tool larger or smaller to suit your needs.
I also blurred the Lincoln penny.
In this image, I kept the penny in focus.
I placed the penny there as a reference to the size of the toy truck.
If you find the penny distracting, then blur it or darken it, so that there is more focus on the toy.
Changing to the sharpen or smudge tool will change
in the 3 places that the arrows are pointing to.
The effect of the sharpen tool .
It's bad!
Do not use - period!
There are other tolls ijn Photoshop that are better than this for the job.


No comments:
Post a Comment