Thursday, December 1, 2011


The Rubber Stamp
(Photoshop)
Many of the names of tools in programs like Photoshop (Image-editing software) derive from either old photographic terms (burn, dodge, contrast) or from tools (rubber stamp, brush). One of the more functional tools is the rubber stamp. Basically you select an area to take your sample from, then place the stamp over the area needing "repairs" and click the mouse. You can do anything that you can imagine, and all it takes is some practise.

The Starting Image
A Dinky Toy

I "auto-coloured" the image

The 3 areas that I would correct

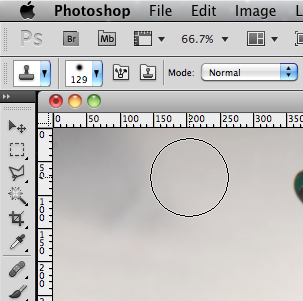
The Rubber Stamp Tool
It's located on the left side of the Photoshop Window
You can put this small tool window elsewhere.

In Photoshop )and other softwares),when you click on a tool,
the adjustments will appear on the horizontal top menu.

Here are some of the adjustments:
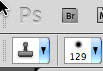
1. Size
2. Hardness: do you want soft edges or well-defined (hard) edges

Opacity simply means this:
Do you want the rubber stamp to completely cover over the distraction,
or simply to blend, and show the underlying area you are about to cover?
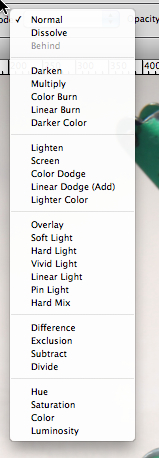
Press the arrow pointing downwards of the horizontal menu,
and you'll be given a whole slew of choices.
Dont' worry - I never really use more than 2, but the choices are there.
When you have a product that's # 1, you continually have to revise it!

"Flow" simply means how thick you want to apply the retouching (rubber stamp).
A low-percent flow would be similar to how paint is applied to repainting a car.
You "blend" the paint with a spray gun by going back and forth with a fine mist.
A high-percent flow would be when you're spraying a barn - the finish does not have to be as "super" as the finish of a car. It just needs a "fresh coat of paint".
When you click on the mouse, a target shows up.
That is where you will be taking the "sample" to paint over the area that you don't like.
In the above photo, it's the shadow or dirty material in the upper left of the truck picture.

I didn't select the shade of beige properly, so the shadow is becoming too light, compared to its' surrounding area. In the picture above this one, you can see the sample is too light.

So I reselected a lighter tone, and repainted over "my mistake".
As you can see, I took a sample close to the shadow.

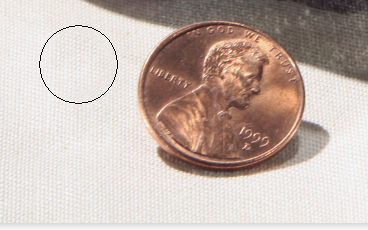
The next task is to remove the penny.
I'd only remove it for an article whereby people already were familiar with the size of the toy.

The penny disappears!

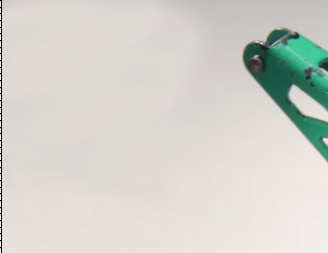
The red cord is the next distraction.
For selling on E-Bay, I'd leave it.
For a book, I'd research the cord, and then add fresh cord, hemp or whatever,
along with a replacement hook.

I'm starting off with a much smaller brush than my first "shadow removal" task.
Also the 'hardness" is softer.

I need to readjust the rubber stamp adjustments.
Because I'm working in a smaller area that is more-defined (sharper edges),
I will make the rubber stamp smaller, and soften the brush hardness.
Notice that the size has been reduced from 72 px (Pixels) to 39 px.

You can see here the confined area that I have to work in.

You can where I'm taking samples to cover the orange fibers of the cord.

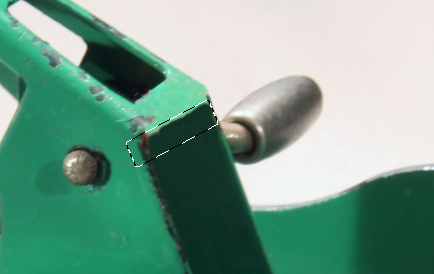
I need to create a straight-edge for where the cord is to "disappear".
The reason is that my hand is not steady enough to create a straight-edge.
I'll select the "selection tool" which is the dotted rectangular symbol on the above left.

This was done by "free hand".
The edge is ragged, and will show when I show the whole toy.

Here's the selection tool added to the area needing a straight edge

Here's the area with having used the rubber stamp .
Having the selection (dotted line) there, I can only rubber stamp along the edge and inside the rectangle.
Hence, I get the perfect straight edge!

When I'm finished in that area, I will deselect the selection tool.

Here's the finished result

Here is some work that I did where the words "Dinky Service" are.
I also did the roof near the passenger door.

Here's a close up of the roof
Being in the DE (Digital Era) is unbelievable.
You don't need to spend let's say $100.00 for the perfect Dinky Toy tow truck to show the "perfect Dinky Toy". All you have to do is use any image-editing software to do the work. In the beginning, you'll make mistakes, but as you practice more and more, you'll get better and faster.
Personally, I find this type of work relaxing, but then again, this isn't for everybody!
I remember when Photoshop first came out and I was teaching.
Some students made extra money retouching for others who didn't like the tedious work!
No comments:
Post a Comment