Thursday, October 27, 2011


GIMP
A Free Image-Editing Software
There is a free download suite from Oracle (through the former Sun Microsystem which Oracle purchased), called OpenOffice. I've never used it, but it works quite well. It has a word-processing software, a spreadsheet software, and at this moment, I can't recall the third one. Surprisingly, there is also a very good image-editing software called GIMP that is also free. It's from another group of people dedicated to improving the software.

The Downloading in Action
You might want to also download the help files.

The GIMP Icon

When you activate the Gimp logo, a second icon gets placed on the open-software bar at the bottom.
I'm not sure what that is, but the 2 are necessary for the program to operate.

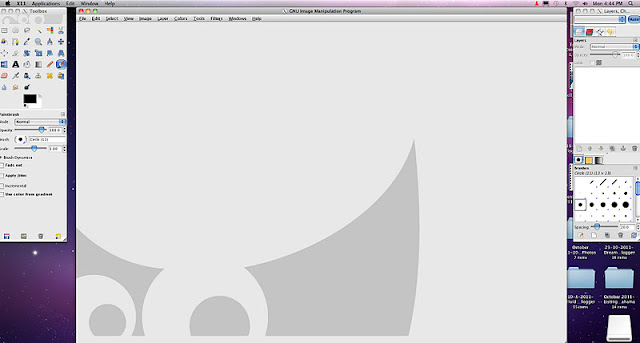
The GIMP OPening Window


How an Image Looks When OPened Up

The Left-Sided Menu Presented in Rectangular Format

The Menu as it Appears Normally on the Left Side of Your Monitor

The Copy and paste Icon
(The Rubber Stamp in Photoshop)

A Round Shape for Removing or Moving a Part of the Image

The Brush Menu and Sub-menu Functions
Another Brush Menu


One of the Menus in GIMP

The top Menus and a Sub-Menu

One of the "Fun" Sub-menu functions

A way of whitening the foundation (What the item is on) with a special sub-menu or function.
It works well!

The Filters Menu and Sub-menu
Above, I'm sharpening 1 of my images.

I don't know if there is another way to view the folders and files, but if this is it,
it's "a slight" inconvenience. Once toy have the file (in writing), you can press on the right column and you'll get a photo.

One of the Sophisticated Menus
You may need to read the notes that you downloaded to know what to do, or you can "play around" with the sliders on the left and see what happens.

Accessing the Curves Menu

An Adjustment Using the Curves Line on the Left.
The lower point on the s-shaped curved reduces the exposure (density),
while the upper point increases the contrast.
I decided to use a straightforward image and distort it.

A menu pops up to show you the new coordinates of any transformation.
You first need to add a few "points" to the image.
From these points, you can then create the "correction" or "purposeful distortion".

Here's the result.

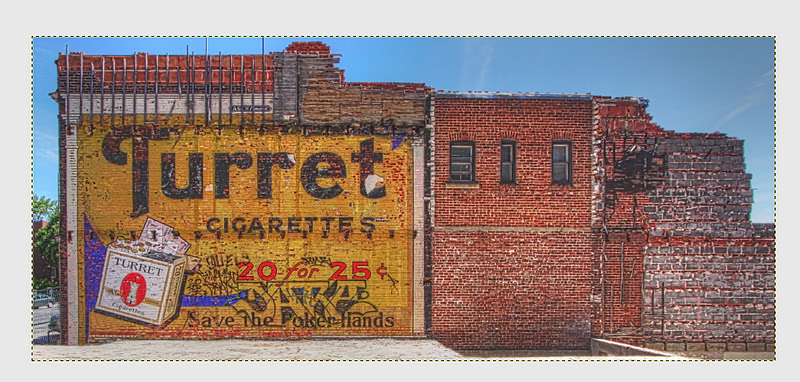
Here is a beautiful building.
It's one of many in an industrial park called "Liberty".

The Perspective Menu
(For Correcting Distortion or exaggerating distortion)

OIf you want to correct the distortion "by hand", you simply place a few points on the image and then move them.
I figured out that to correct the building tilt on the left side,
I had to move the point (which also has a line component) to a position parallel to the distortion.
This way of "correcting" is different from other programs, but if it works, so be it!

The default grid has too many lines and blocks out the image of the actual building that needed correction.

What you do to change the default grid setting, is to open up the default preferences.


This is the Menu when you open up the default preferences window.

I changed the grid so there was fewer lines.

I also changed the colour of the grid.
In this case, I found that red was "easier on the eyes" than black.

The correction on the left side.
The right side of the building could use an increase in size.
What I simply wanted to show you is that GIMP is a serious program for someone who needs access to an image-editing software program, but either:
1. Is on a limited budget
2. Only works on images once in a while
Don't forget that you can always download a "10-30 day trial" version of most softwares. However, if you don't really have the time to test out the software, then try GIMP! It's free and it can stay on your computer for as long as you want it to.
Furthermore:
1. It's quite sophisticated,
2. Has resourceful help documentation (although I didn't use it much)
3. It's free!
4. Once you work with it enough enough and familiarize yourself with it, you can then download other image-editing softwares to "try out". In this way, you'll have some experience to compare and contrast different company softwares.
GIMP is a really great alternative to photoshop. It is a great avenue for photo editing, retouching and even creating. It still contains the editing necessities like layers, brushes, filters, etc. I also like that it has a multi-windowed layout which is really cool and new.
ReplyDeletePhotoshop Lightroom is one of the best image editing alternatives to GIMP that provides a comprehensive set of digital photography tools, from powerfully simple one-click adjustments to cutting-edge advanced controls. You can try this also.
ReplyDeleteThank you for sharing this information about the GIMP. For more ease of use anyone can use TouchRetouch photo editing app. Indeed you can use the TouchRetouch photo editing app for doing outstanding photo editing tasks. TouchRetouch has some outstanding features. Anyone can remove unwanted objects, line movement, photo retouching in a click, crop and edit photos, magic color correction and finally the same retouching flow.
ReplyDelete