August 28, 2011
Your Camera Software
Canon Utilities
Canon ImageBrowser
Yesterday, I received a suggestion from a friend in Ireland. He suggested that a good idea would be to write articles more for people who have "point and shoot" cameras. I thought about it, wrote back to thank him for the idea, and thought to myself "why not?". I hardly ever used my software that came with the camera because I had "fancier" software such as Photoshop for photo editing, and LightRoom (Adobe) and Aperture (Apple) for image organization and also photo editing. So I decided to take a look at what came with my Canon T1i camera, which is a 2 generation older camera from the current Canon T3i. Both are DSLR (Digital Single Lens Reflex) cameras, but I had a nice Canon "point and shoot" camera that I gave to my wife. That camera also came with Canon software. So, luckily I can try it out and present it to you today.
I went to check on what model I had, and I couldn't believe how far Canon (and other manufacturer's cameras had since advanced. The model is a Canon A80 PowerShot, and I think I purchased it about 8 years ago. It has 4 megapixels - wow! That certainly seemed like a lot at the time, and I had a 256 MB card to load the images unto it! My wife said that there is something wrong with the screen, so it sits lonely in a drawer somewhere, as she purchased another camera. I'll try and take a look at it.

I find the software by going to applications on my Imac.
The same will hold true for any PC

I open up the Canon Utilities Folder
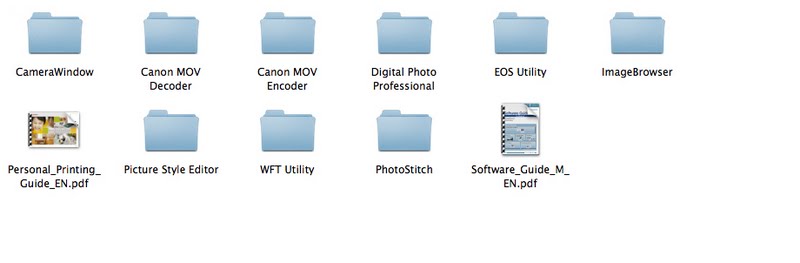
This gives you a whole lot of different folders with different software such as for movies.
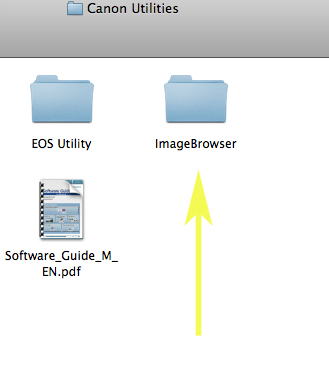
Then you click on the ImageBrowser folder

I use a Sandisk Micromate cardreader to load my photos on to my computer.
This came with an 8 Gb card for my camera, and I prefer it for it's simplicity.Of course, you can use a wire that came with your camera.
1. When you load the photos into your computer, you're asked to create a name for the folder.
The image folders that I took through my camera are on the left.
What's also interesting is that you can use any of your software programs through ImageBrowser.

2. You can have different views in the Menu Image at the bottom
The above is 1 version

3. This is another view of a single image

4. You can enlarge the window

5. You can rate your photos in terms of most to least favourite

6. You can see the data when the image was taken

7. You can see which focus setting was used

8. Your image can be viewed on the "full screen"

The ImageBrowser editing software is at the bottom of the normal viewing window
8. You simply click on the command that you want to work with.
I chose "trim"
Trim provides you with a fast way to re-size (Crop) your photo.

9. Here's an example of trim in action

10. Here are the "advanced options"

11. Here is a specific proportion of vertical:horizontal proportion.

8. Here is the Color/Brightness Adjustment

9. I've increased the saturation level to make the red stronger
If you move the slider to the left, the image will eventually lose all of its' colour.

10. Here is a Color Adjustment
It's RGB
Slide the Red to the Left and you get Cyan (Sky Blue), which is opposite red
Slide the red to the Right and you increase the red

I usually have an unwanted red colour (colourcast) in my photos


11. The sharpness command does not work very well!

A "Before" Photo

All this seems to do is add "grain" and "noise".

Thankfully, your reminded if you want to save the photo.
Since the sharpness command is not very good, you simply say no!

12. This is a Curve Adjustment, just like in most software programs
You place your cursor on the line and move the line up or down.
I like to use it to get more shadow detail and at the same time to give more or less contrast.


14. Here I moved the graph line up.
Notice how the overall photo got lighter, and now has more detail

15. Here I placed my cursor on the upper part of the graph line and pulled in lower.
This lowered the contrast.
The same will hold true for the level adjustment below.
Personally, they're too closely-related, and I sometimes find it easier to use 1 or the other.

14. Level Adjustments
The "Level Adjustments" menu illustrates the different quantities of dark to light tones in your photo.
The tones are arranged Left (Dark) to Right (Light).
You move the small triangles to the left or right to alter the image.
Moving the small triangles to the left makes tones lighter, while to the right makestones darker.

Above, I moved the mid-tone slider to the left
Notice how the graph (in black) moves to the left to show more middle (mid) tones

You can also make adjustment by changing the numerical value in the boxes.
Left Box = Dark tones (Shadows)
Middle Box = Middle tones
Right Box = Bright (Highlight) tones
Photographic Terminology
Colourcast An undesirable colour that shows throughout the image. It can be from incorrect white-balance of your camera, mixed lights (e.g. using a flash indoors when there are incandescent lights on).
An incandescent light is simply a term for houselights (lightbulbs).
No comments:
Post a Comment